Fabrication Process

Each sculpture begins with a simple line drawing. This hand drawing is composed of smooth and flowing shapes. It will eventually be transferred to a 4’ x 8’ piece of aircraft aluminum sheet metal. My fabricators use the designs to roughly cut out the shapes from the metal. Then they hand them off to me to do the shaping and fine tuning of each metal element. This is when the really physical aspect of the work begins.

Its hard to imagine, but each sculpture starts with a simple pencil drawing and a raw sheet of metal.
After I pick up the metal from the shop the real work begins. Each element must now be shaped, beveled and sanded separately. This part of the process is incredibly physical and repetitive. Taking each element from the rough metal that comes from the shop to where it can begin the priming and painting process takes many hours and a lot of sweat. It takes between 20-35 elements to compose one sculpture. Sometimes when I am creating several sculptures at once I am working on upwards of 70 separate elements.

Now each aluminum element must be primed on both sides several times before the outside material can be applied. After the priming has been completed I can begin the application of the metal emulsion.
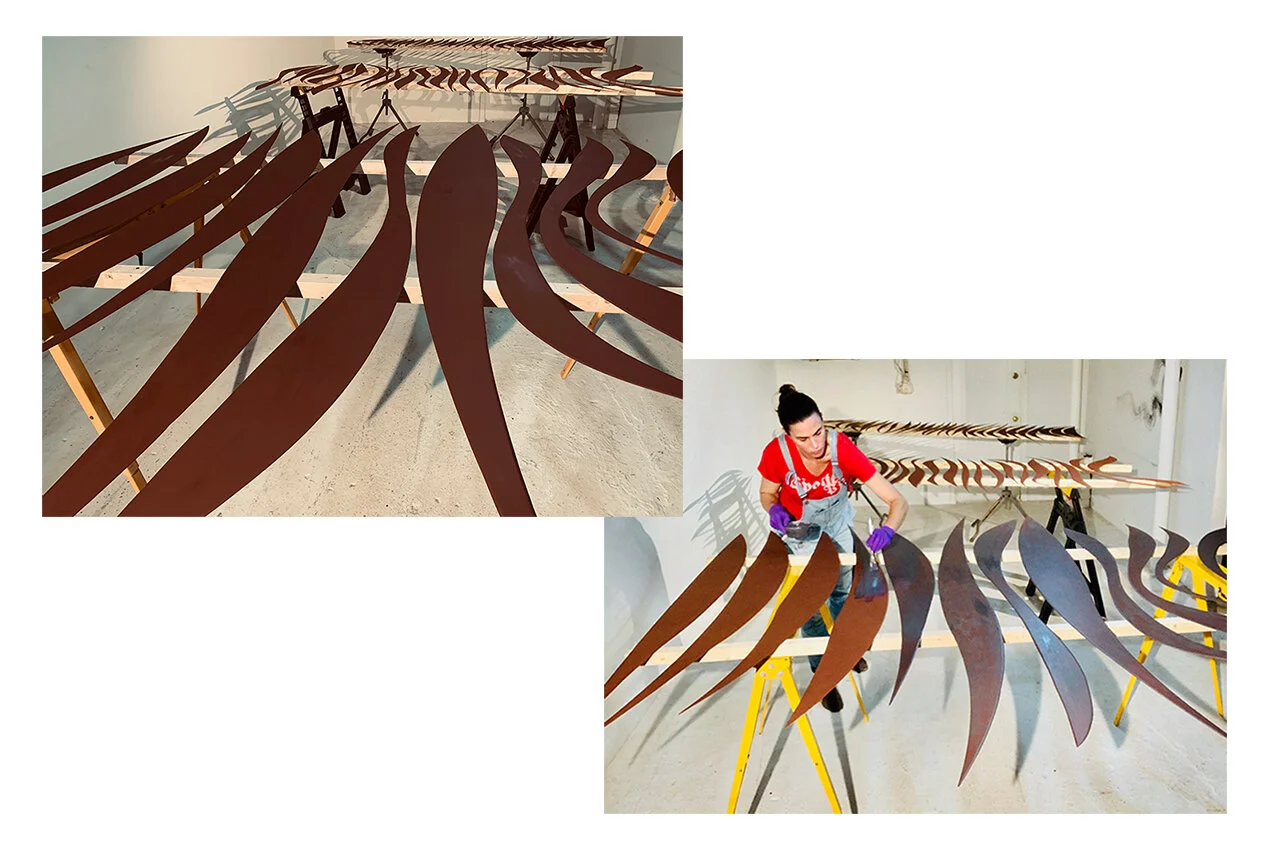
The iron or bronze material I use on the outsides of the sculptures are exactly that, a high concentration of the metal in an emulsion that adheres to the elements. It is how I create the intense iron or bronze weightiness of my sculptures only employing the lightness of the aircraft aluminum as their structure.

Applying and modifying the patina is were the fun starts. I can manipulate the different patinas in both iron and bronze to create different colors and tones. Then the opposite side of each piece needs to be cleaned and primed to prepare for the final layer of pigment to be applied to it.

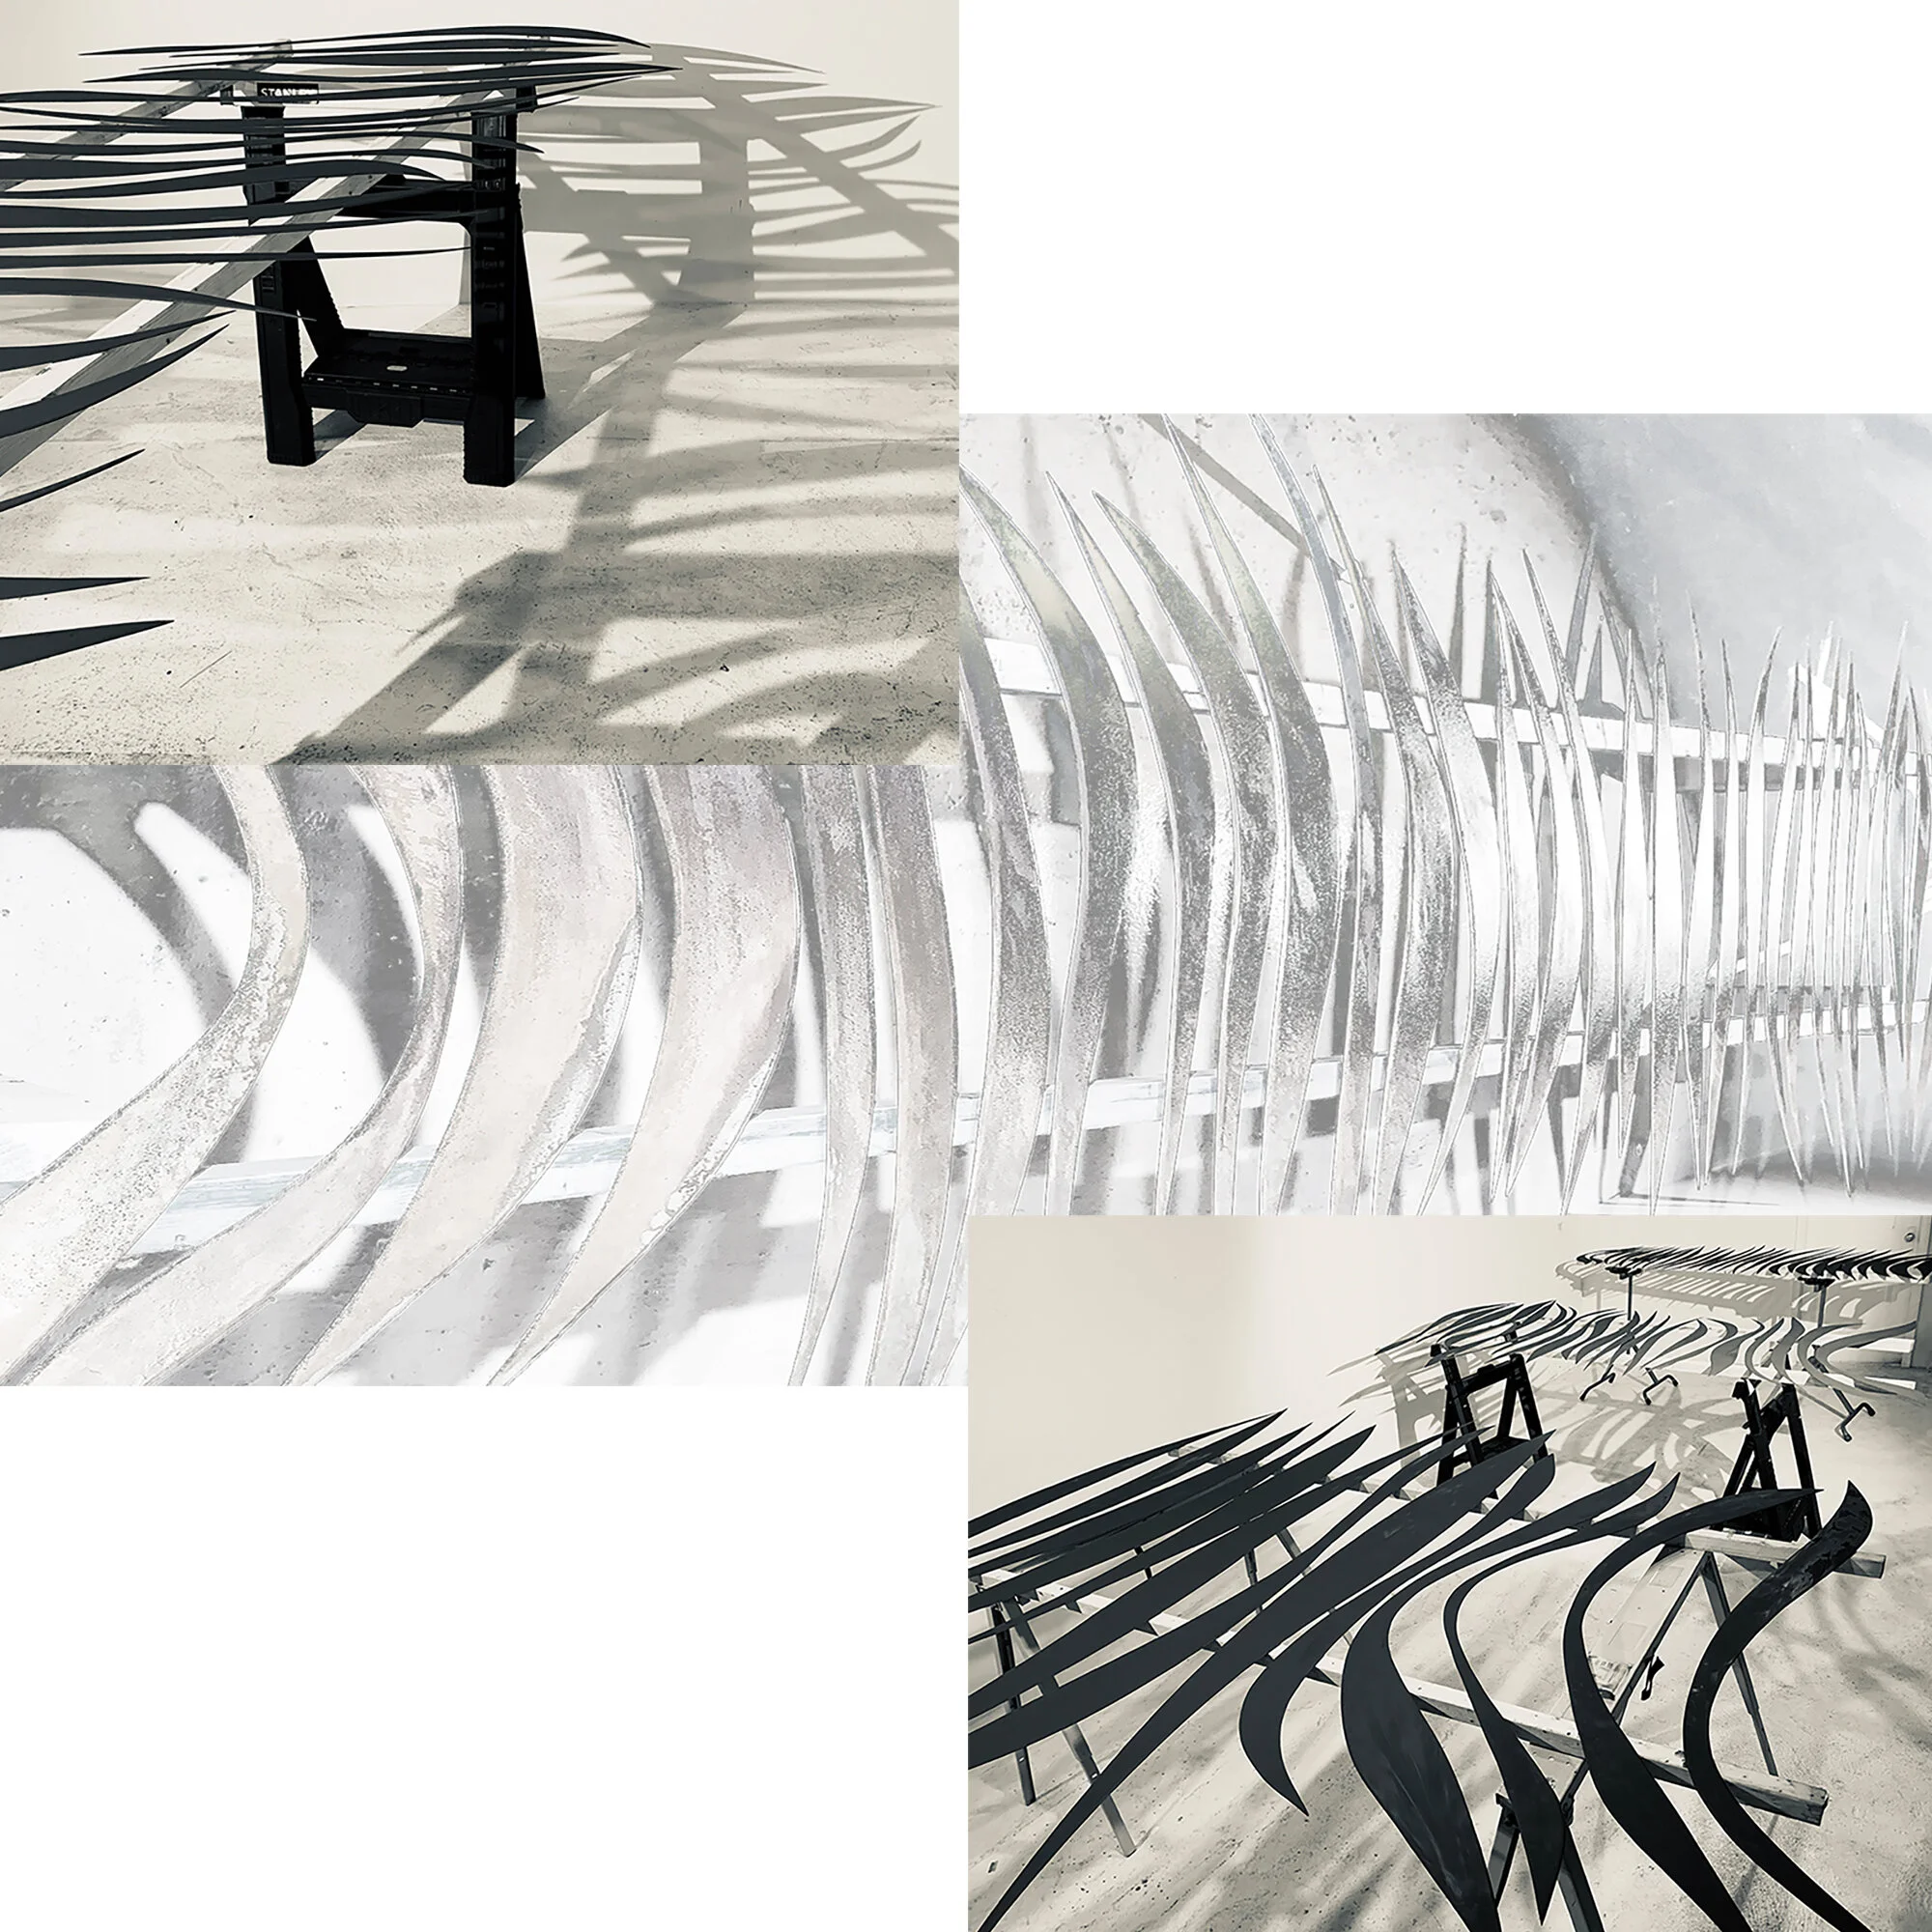
Curling each piece is a exciting part of the process that requires a very large triple beam sheet metal press that forms the curves into each element using pressure.
I can adjust the tightness or angle of curve or coil of each piece by hand as I work creating many different options to choose from. This part is pretty physical as well but its definitely fun.


The pieces are separated into the groups that will compose each sculpture. They are ready to be cleaned and painted. Now each element gets its final coat of color. I like to use many materials on the inner surface such as gold leaf, crushed mica, raw pigment oil paint, ect....

